- First of all, open the run dialog box.
- Now, you have to type control” in the Run dialog box and then press enter on the keyboard for opening the Windows control panel.
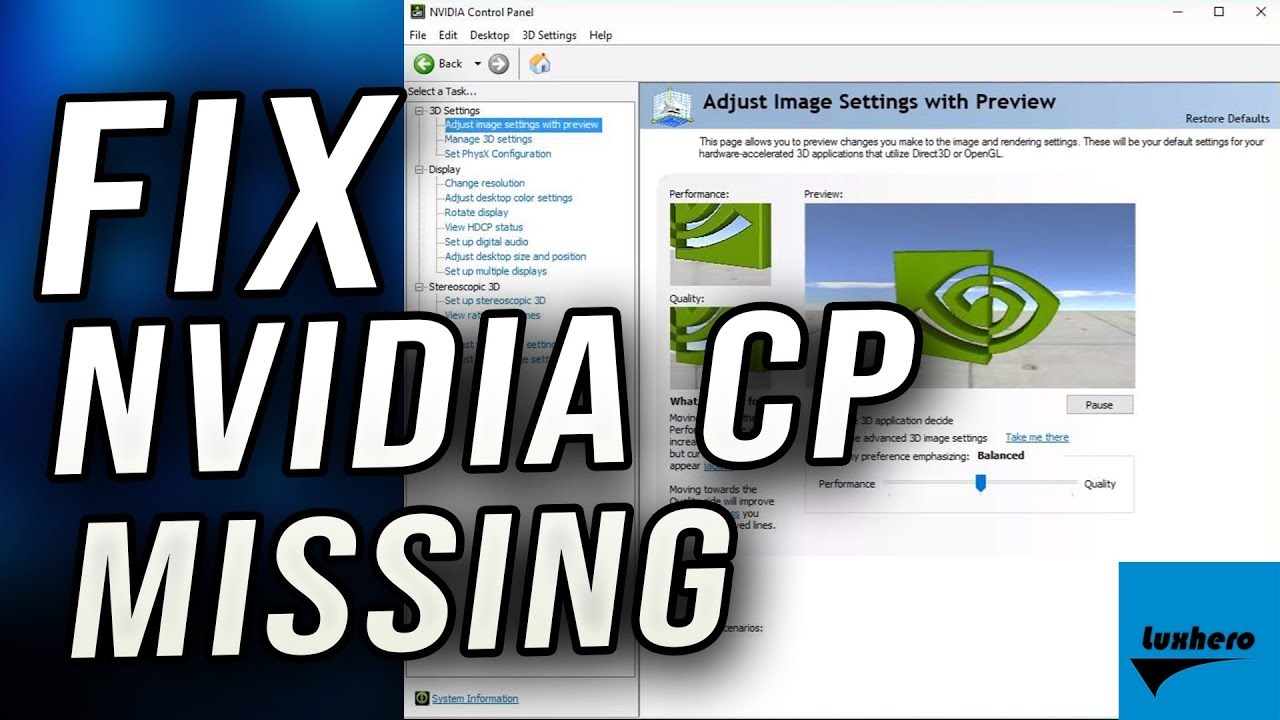
- The Nvidia Control Panel will be seen over here so select it.
- Now, you have to click View or Desktop in the Control Panel of NVIDIA and then check the Add Desktop Context Menu.
- Right click on the desktop and check if the control panel reappears in the desktop context menu or not.

4 Methods to Fix Nvidia Control Panel Missing Options Issue in Windows 10
Nvidia is a very
popular name in the tech market for the excellent designing and development of
the graphics processing units for the games. The company develops chips for
various systems in the mobile computing market and the automotive market. Most
of the pcs or laptops you see, the GPUs are of Nvidia only.
You might be aware
of the NVIDIA Control Panel if you are having the GPU of Nvidia in your laptop
or pc. NVIDIA Control Panel is the application for hardware control developed
by the company. At the time of installing the Nvidia video card driver on the
computer, the control panel will come with the driver automatically. The driver
settings can be changed through the interface and the configuration of the
Nvidia hardware can also be changed.
But there are some
issues currently with the Nvidia Control Panel as many users have reported the
problem. The problem with the Control panel is that the users are not able to
find it. This problem arises generally at the time of upgrading the Windows OS
from a previous version. It even arises at the time when you wake up your pc
from the sleep mode.
If you are also
facing this issue then don’t worry as there are possible fixes available.
Today, Technographx
has come up with this article to make you aware of the different solutions for
fixing the Nvidia control panel missing
issue. Let us have a look at them.
Method 1: Restart the Nvidia Services
It might happen
that NVIDIA Control Panel went missing from the Desktop context menu as well as
the System Tray so a basic method to try is to restart the NVIDIA specific
services.
Let us have a look
at the steps for restarting the services.
Step 1: First of
all, open the Run box by pressing Windows + R keys together.
Step 2: Now, you
have to type services.msc in the Run box and press Enter button.
Step 3: The
Services window will open up. You will see different services that are running
on your system over here. Look for the services whose name starts with Nvidia
and select each one by one and click on the Restart button. If a service has
stopped, then click on the Start button.
Method 2: Unhide your NVIDIA Control Panel
It is possible that
your control panel may be hidden by Windows at the time of upgrade from the
previous version. It is also possible that it is hidden by any other software
that has changed the graphics settings accidentally. For solving this issue,
open the NVIDIA control panel options in the Windows Control panel. Now, show
it in the desktop context menu.
Leave a Reply